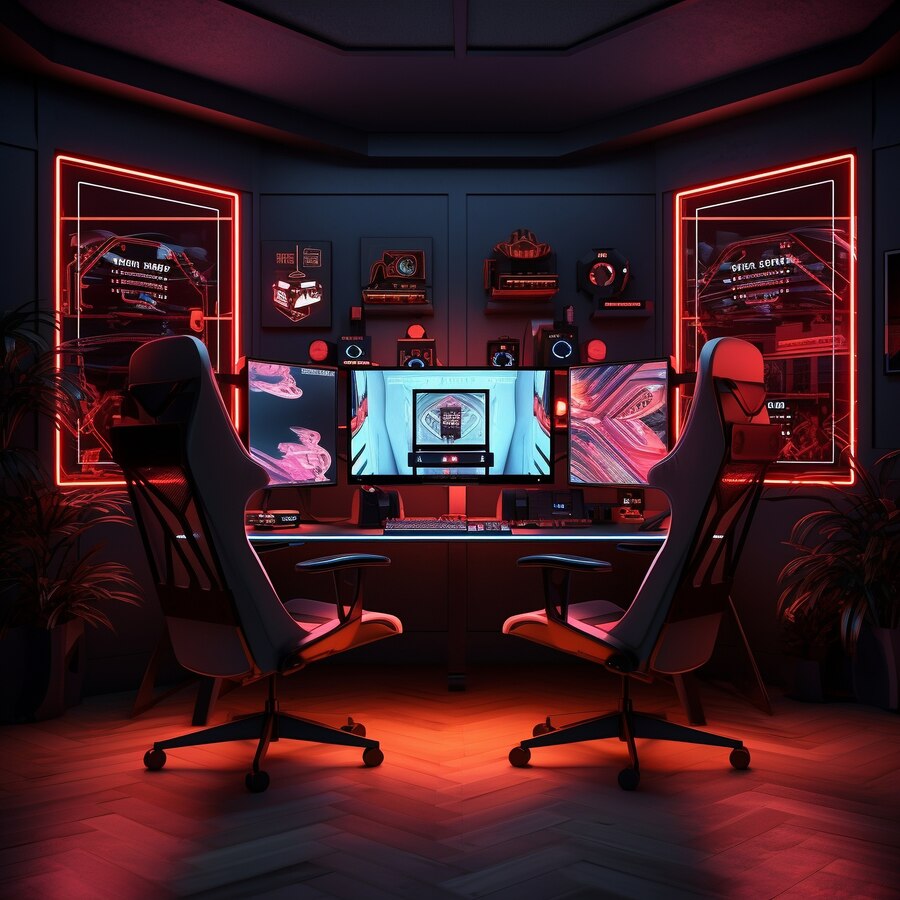
Ever wonder why your game still feels a little sluggish even though your gaming laptop boasts a flashy 144Hz display? You’re not alone.
Here’s a wild stat to kick things off: your 60Hz monitor only shows 60 frames per second, while a 144Hz screen can display more than twice as many. That’s like going from watching a movie at 30 FPS to seeing it in hyper-smooth, eye-candy slow-mo. But—and this is a big but—if your laptop isn’t properly optimized, you’re still only seeing part of the picture (literally).
In this guide, we’re going to break down how to optimize your gaming laptop for 144Hz so you can unlock the full potential of that high-refresh-rate screen. Whether you’re crushing headshots in Valorant or flying through neon tracks in F-Zero-style racers, every frame counts.


Let’s get into it.
What Does 144Hz Actually Mean?
Before we start tweaking, it’s worth understanding what 144Hz really does.
A display’s refresh rate—measured in hertz (Hz)—is how many times per second your screen updates with new images. A 144Hz display refreshes 144 times per second, giving you smoother motion, faster input response, and a noticeable edge in fast-paced games.
But here’s the kicker: just owning a 144Hz laptop doesn’t mean you’re using it. If your software, GPU, or game settings aren’t dialed in, your screen could be running at 60Hz by default. Sad, right?
1. Enable 144Hz in Windows Settings
First thing’s first—make sure your laptop is actually set to use 144Hz.
Here’s how:
- Right-click your desktop and choose Display Settings
- Scroll down and click Advanced display settings
- Under Refresh rate, choose 144Hz (or whatever your panel supports)
It’s shockingly common for Windows to default to 60Hz even on high-refresh-rate displays, especially after a driver update or OS patch.
2. Use the Right GPU Settings
Many gaming laptops come with dual GPUs—an integrated one (like Intel UHD) and a dedicated one (like NVIDIA GeForce or AMD Radeon). Sometimes, the system routes your games through the integrated graphics to save battery… which kills performance.
Fix this in the GPU control panel:
For NVIDIA:
- Open NVIDIA Control Panel
- Unlock smoother performance: Head to Manage 3D Settings > Global Settings and boost your graphics instantly!
- Boost your gaming performance instantly by switching to the High-performance NVIDIA graphics processor.
- Under Display > Change Resolution, select 144Hz
For AMD:
- Open AMD Radeon Software
- Go to Display > Specs
- Set Refresh Rate to 144Hz
- Under Graphics, ensure Performance Mode is on
3. Update Your Graphics Drivers
“Outdated drivers are the hidden villains wrecking your gaming edge. Not only can they cap frame rates, but they may not even recognize your 144Hz display properly.
Download the latest drivers directly from:
- NVIDIA
- AMD
Pro tip: Use their software (GeForce Experience or AMD Adrenalin) for automatic updates and game optimization.
4. Change In-Game Settings for High FPS
To make the most of a 144Hz screen, your laptop needs to consistently push 144 FPS. If your GPU is only churning out 60–90 FPS, you’re not seeing the full benefit.
Boost your gameplay instantly just open your video settings and do this:
- Lower anti-aliasing (can be very demanding)
- Reduce shadows and post-processing
- Turn off V-Sync (this can cap FPS to your refresh rate)
- Enable FPS caps only if needed to stabilize output
Remember: 144Hz is only as good as the frames you’re delivering.
5. Switch to High Performance Mode
Windows likes to balance performance and power usage, which is great for spreadsheets—not so much for gaming.
To fix this:
- Open Control Panel > Power Options
- Select High performance or create a custom plan with max performance settings
- Boost your Windows 11 speed instantly just switch to ‘Best Performance’ under Power Settings!
Bonus tip: Make sure your laptop is plugged in—running on battery can reduce GPU/CPU performance significantly.
6. Disable Background Apps
Even lightweight apps like Spotify or Chrome can eat up CPU and RAM. When you’re gaming, your system should be laser-focused.
Boost your PC speed instantly just open Task Manager (Ctrl + Shift + Esc) to:
- Close apps using a lot of resources
- Disable startup programs under the Startup tab
- Free up memory for GPU-intensive tasks
7. Monitor Performance with Built-in Tools
Want to check if you’re actually hitting 144 FPS? Use software like:
- Unlock Real-Time Game Stats with MSI Afterburner: Instantly Track FPS, GPU Heat & CPU Load!
- RivaTuner Statistics Server (bundled with Afterburner)
- Unlock Real-Time Performance: Activate Steam’s Hidden FPS Counter in Seconds (Settings > In-Game > FPS Counter)
Watching real-time data can help you identify bottlenecks—whether it’s GPU usage maxing out or RAM choking.
8. Cool Things Down (Literally)
High frame rates generate more heat, and heat leads to thermal throttling, where your system slows down to prevent damage.
Simple fixes:
- Use a laptop cooling pad
- Keep your fans and vents dust-free
- Elevate your laptop for airflow
Some gaming laptops also let you manually control fan speed via software—don’t be afraid to crank it up during intense sessions.
9. Keep Your Laptop Updated
Beyond graphics drivers, keep everything else current:
- Windows Updates
- Game patches
- BIOS and firmware (from your laptop manufacturer)
- VRR (Variable Refresh Rate) if your display supports it
The difference between a laggy and buttery-smooth game sometimes comes down to a single overlooked update.
10. Buy the Right Laptop (If You’re Still Shopping)
If you’re still in the market for a 144Hz-capable gaming laptop—or wondering if your current one is really up to the task—make sure to check out the Buyer’s Guide to the Best Gaming Laptops at Trustly Reviews.
It breaks down specs like GPU, cooling performance, and display quality, so you’re not just buying flashy specs—you’re buying performance that actually delivers.
And if you’re browsing more general reviews, the main Trustly Reviews site is a solid place to see real-user experiences across a bunch of tech categories.
Final Thoughts: Don’t Waste Those Extra Frames
A 144Hz display is one of the best upgrades for any gamer—it reduces motion blur, improves responsiveness, and gives you a literal split-second advantage. But if your gaming laptop isn’t optimized, it’s like having a Ferrari stuck in first gear.
Take 15–20 minutes to go through these steps, and you’ll unlock the full potential of your hardware. You’ll notice smoother gameplay, quicker reactions, and yes—more wins.
Because let’s be real: if you’re rocking 144Hz, you didn’t come to lose.


